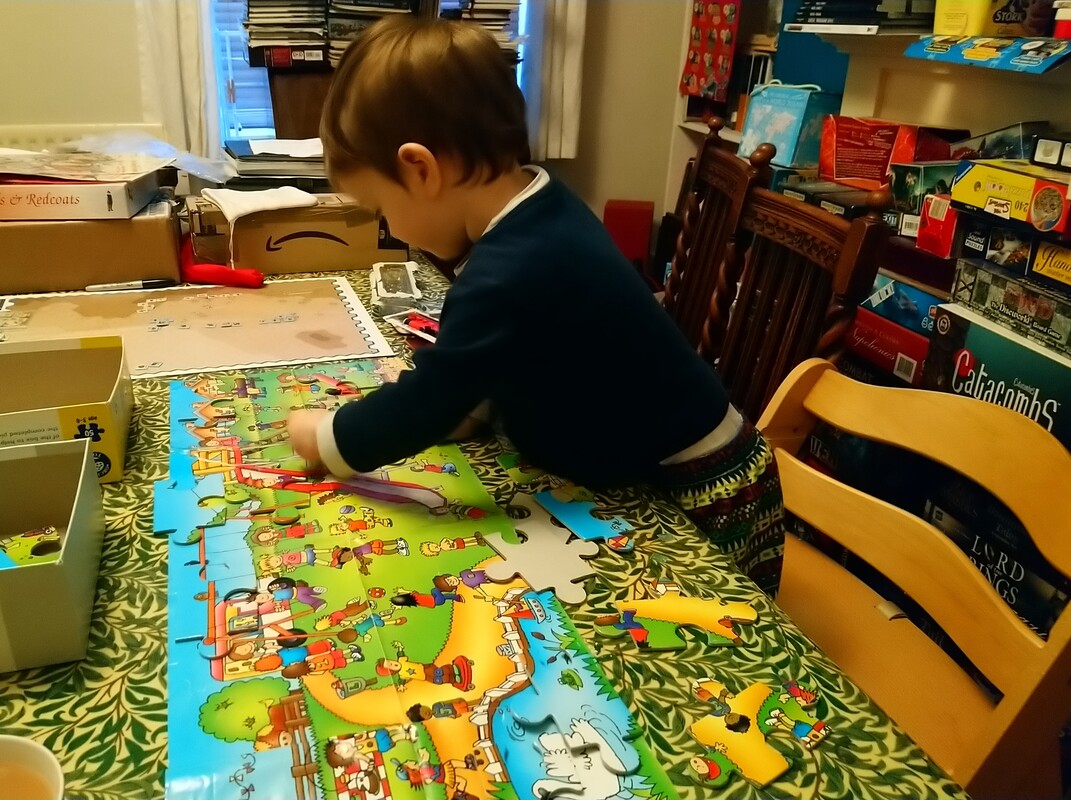
 My eldest loves puzzles, which suits me because I love them as well! They can be so calming and fun to do plus being a great educational tool for a whole manner of things (e.g. shapes, colours, 3D rotation, learning the subject of the puzzle itself). However there's a great way to turn it into a more artsy activity by, you guessed it, making your own! What to do: 1. Find some card, pencils/pens, scissors 2. Either print off a line drawing from the internet onto the card or draw your own (why not try doing some tracing) 3. Have a fun time colouring in! 4. Once finished cut the picture up into lots of random shapes and you have your puzzle* *Take a photo before cutting up so your little one has something to refer to later Top tip: You can print off a puzzle outline from the internet first before drawing your picture or use it to trace after your picture is complete Puzzles are also a great quiet time activity for children to sit and do on their own or a time for you to sit and spend time with them (and a good chance to chat about how they are or about interests they have)
0 Comments
Often when thinking of a British Summer you may be forgiven for thinking of your umbrella just as much as your sunglasses however the nice weather recently got us making some rather yummy drinks while we sat outside in the warmer weather.
Sun tea is exactly what it says 'on the tin', tea brewed in the sunshine! What to do: 1. Find a large jar/jug and put some tea into it (this can be some spoons of loose leaf or a couple of bags) 2. Fill up with cold water either from the tap or cooled boiled water 3. Seal the top with a lid/clingfilm 4. Place in a sunny spot (this could be in the garden or on a windowsill inside) 5. Leave for a few hours to brew (keep moving your jar/jug into the sun if it becomes shaded) 6. Once brewed, remove tea leaves/bags and stir in sugar to taste while it's warm (optional) 7. Either leave to cool in the fridge before serving or serve immediately on it's own or over ice We used Mango & Bergamot tea when we made ours but feel free to experiment and try out some other varieties as tea brewed using this method taste very different to when they are made with hot water. 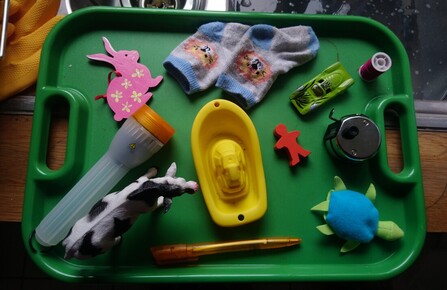 This activity is very quick to put together and you only need what's lying round you house (which is rather handy when some things are in short supply in the shops [e.g. flour for salt dough])
Grab a tray, or basket if you don't have one, and find about 10 to 15 objects round the house. Ensure they are fairly small as you need to be able to cover them up easily. Suggestions: - Pencil/Pen - Eraser - Torch - Finger Puppet - Baby Socks - Small Ornament - Watch - Thread Spool - Toy Car - Coin - Lego Figure - Tea Light Candle - Button Just the setting up for this activity by collecting various items for this definitely piqued the interest of my toddler! So although you can prepare it all beforehand, feel free to do it 'off-the-cuff' and build the interest (e.g. "We're going to do a special activity now, no peaking! Can you clear the table for us so we're ready?") Once you've got some items, make sure you have a tea towel or scarf handy to cover the items with. Place the tray on a table (or lay out the objects if you don't have one) and cover with the cloth. What to do (explain these steps to your child before you start so they know what they need to do): 1. Uncover the objects and have a good look at them. Take a few minutes to do this (but not too long) by pointing out each one and saying what it is (or get them to tell you). They can pick up the object at this point and have a good look at it but they must place it back onto the tray afterwards. 2. Cover the objects back up again so they can't be seen (cover those corners!) 3. Ask you child to name as many of the items they can without looking at under the cloth (You can either write down their answers or just remember what they guess). For this part I suggest putting a time limit on just so you're not stuck guessing for ages. 4. Uncover the objects again and see how many you remembered! If you want to you can cover the objects again and repeat the game to see if they can remember more this time. Or if you would like to play with different objects you could get your child to choose the objects and have the adults guess! Many people would agree that a key part of parenting is not just the feeding, washing and changing of children, it's the teaching of morals and values as well as practical advice of how to get through life (e.g. Don't eat the outside of an orange, peel it like this and eat the middle!)
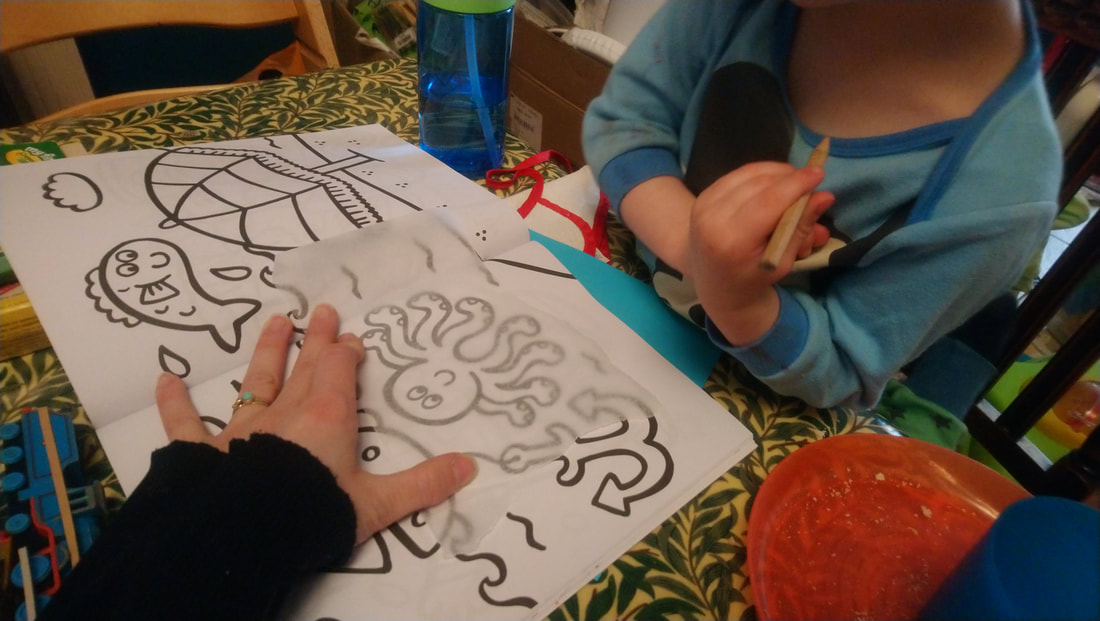
The values we hold are very evident to our children who live with us and see us day-in-day-out, they know when we might be contradictory about a behaviour or opinion! So it's very important we have a look at ourselves and see what we might be teaching them. There was a horrible realisation a while ago when my eldest was learning to speak that when apologising he would say, "Sorry, I didn't mean to" which was infuriating when it was quite evident that indeed it WAS intended, but then I stopped and realised that the reason he'd apologise like that is because that's how I said sorry to him. I felt awful. It's an innocent enough phrase but actually was teaching something not quite right. With a change in my responses we now both just say 'I'm sorry', forgive, cuddle, move on. Much better! God has a great love of families and raising children is often referred to as a blessing and honour, so it makes sense that He has clear opinions on bringing children up well. In the book of Proverbs it says: "Train up a child in the way he should go; even when he is old he will not depart from it." [22:6] We know that, if we do not teach our children to be loving and kind, they may become mean and selfish. Or if we do not teach them to observe boundaries put in place by us they may run into the road when we've instructed them to stay on the footpath. In the same way, spiritual disciplines have to be learnt in order to become part of the daily routine. For us, reading the Bible, singing and praying together are our staples and something we aim to do at least once a day. It goes like this: - Read a short passage from the Bible (we use the ESV) - Read a short passage from a spiritual book (feel free to email us for suggestions) - Sing one or two songs (we do a mix of traditional hymns [Which are fab for learning theological truths] and children's worship songs [Great Big God is a firm favourite] - Pray (we ask our eldest what he'd like to say thank you for and who he'd like to pray for, then pray those things together) This may seem like a lot but the whole of 'Family Worship' time lasts around 10-15 minutes. Some days the boys are not quite in the mood and struggle to sit still or are wailing because they're tired, and that's ok, we just adapt and maybe read shorter passages or just read a bit of the Bible then pray but we always aim to do as much as we can (it's for our benefit too!). Participation is encouraged but not enforced, however the are required to be respectful whilst we do it (e.g. you don't have to pray but you do need to be quiet when we do). The main point is to rejoice and bring God glory together as a family. "...But as for me and my house, we will serve the LORD" [Joshua 24:15b] For a better write up about Family Worship I recommend to read a piece called "The Duty and Joy of Household Worship" written by Owen: https://undergrowingbranches.blogspot.com/2020/03/the-duty-and-joy-of-household-worship.html?fbclid=IwAR3x6Bz-uDA9kPlqg4fqG29jaIlhhNCynZK6Kqs8dLblRdk2j2Ubus3QkHY Also, check out this book: "Family Worship" Joel Beeke This is a great little activity to fill 10-20 minutes and only requires a pencil, some paper and a bit of baking parchment!
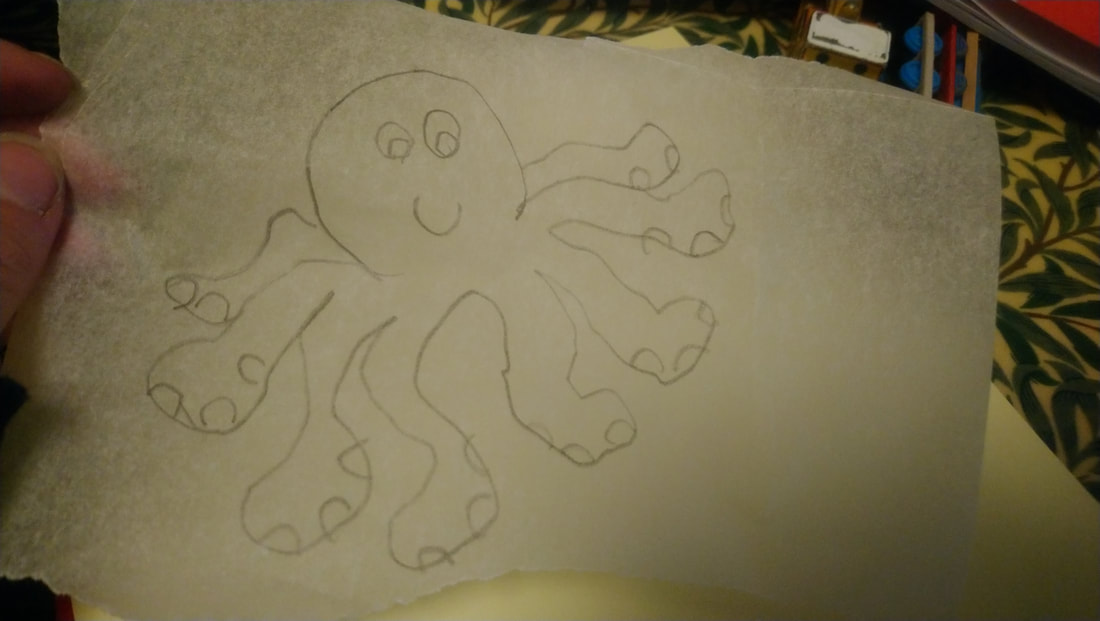
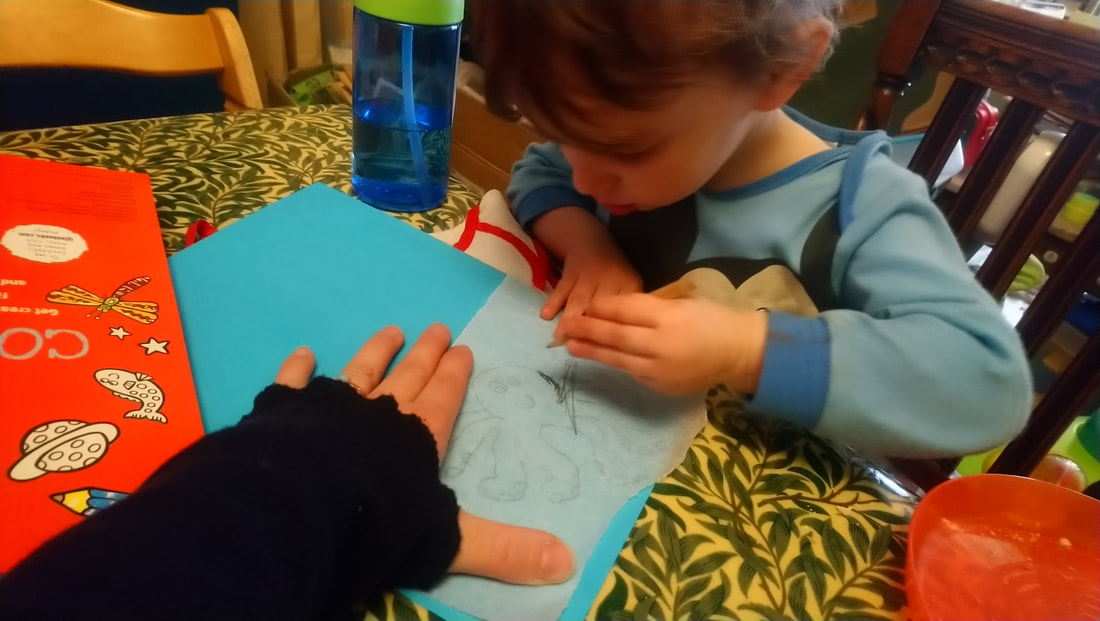
What to do: 1. Find a picture from a children's colouring book as a base picture (or you can draw your own /print one out if you'd like) 2. Cut up a piece of baking parchment to the right size and place over the picture 3. Hold the parchment still as you trace over the picture with a pencil (make sure the point isn't too sharp as the lines won't transfer as well) 4. Flip the parchment over onto a plain piece of paper 5. Draw generously over the lines of the picture (kids will enjoy having a good scribble!) 6. Once the picture lines are completely covered, lift off the parchment and see your traced picture below 7. Grab some colouring pens/pencils and colour in! My eldest found it absolute magic when he saw the lines appearing on the plain paper (I kept giving sneak peeks as we scribbled over the back!) and enjoyed that it was a drawing task we could do together - I found holding the pencil at the same time as him for the initial tracing was helpful as following the lines was a little too tricky. Top tip: If you want your picture to end up the same way as the original just trace the other side of the baking parchment before placing on the plain paper to transfer Baking cupcakes often conjures up warm happy memories of getting flour everywhere, licking the bowl afterwards and the beautiful smell of cake in the oven! I must admit this is one activity that I always had clearly in my mind of something to do with my children, then my eldest, at the age of 7 months, had his whole face swell up when we fed him scrambled egg for the first time....not a great start to weaning! We then embarked on a whole journey of free-from cooking which,if you're interested, I've written a bit about here [-]. Anyway, he's much better now and can handle egg and milk if it's baked in, so apart from reminding him that he needs to be careful getting the mixture on his hands and not to lick the spoons/bowl after, let the baking commence! Recipe: https://www.bbcgoodfood.com/recipes/cupcakes (We found that this recipe filled 12 cupcake cases pretty perfectly and was easy to follow) For hand washing, I find it easier to fill up a tupperware box with water and to bring that over with soap and a towel for kids to wash their hands at the bench. My tap for my sink is a little too far back at the moment for my eldest to use comfortably so I find this works best. Cupcakes are nice and simple to make and the fun doesn't just stop with the baking. It's also in the decorating after. Here's a few ideas to get you going: - Buttercream (Fairy Cakes or a big swirl of it on top) - Glace Icing (excellent for adding sprinkles onto) - Fondant Icing (Either cut out some 2D shapes or make little 3D figures to decorate) - Sweets (stick them on with a dab of icing) - Fruit (sliced or whole) - Filled (Jam or Chocolate Spread) - Icing Sugar (just sprinkle on top or over a template to make a design) Just remember to decorate when your cakes are cool! Otherwise you're end up with a beautiful cake surrounded by a pool of icing. Best thing to do is ask the children to come up with their own designs, encourage their creativity and, as always, have fun!  Crispy Cakes are super yummy and super easy! These are fab to make with little ones as they can get really involved with every stage of the cooking. You can find some recipes here: Simple: https://www.bakingmad.com/recipe/chocolate-crispy-cakes More Ingredients: https://www.bbcgoodfood.com/recipes/chocolate-rice-krispie-cakes As we get closer to Easter there's a great variation on these little cakes: Easter Egg Nests! The recipe uses shredded wheat rather than Rice Krispies so they look more the part. You can find a recipe here: https://www.bbcgoodfood.com/recipes/shredded-wheat-nests I have good memories of making these at the 'Good Friday Project' that my church ran (a morning of activities all about the Easter story) and trying to resist eating them before going home! Image by Michelle 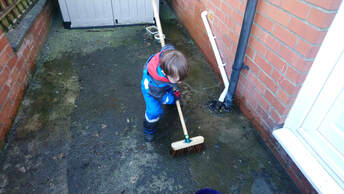 Yesterday was a good time to get out of the house! I think we're all feeling the strain of not seeing family and friends and some fresh air was definitely needed. We have a small yard at the back of our house and after the wild windy weather we've been having this year it was looking in a sorry state with bits of rubbish strewn about and mounting leaf piles.
So, it was time for a clean up! We popped on our wellies, gloves and coats and grabbed the broom. I started off but very soon my eldest wanted a turn and for a good hour or so we swept up all the leaves and used the outside water tap to splosh water on the floor and give it a bit of a wash down whilst we were there. Despite how we feel about these jobs as adults it has been my experience that children love to do tasks like this (which in turn has often helped me feel more enthusiastic in return), so try to feed off their enthusiasm when dong jobs you may not like. It's also worth noting that even if your yard/outdoor space is pristine, children will still be happy to sweep it, to be helpful as well as just for the fun of it. So even if you're not an 'outdoorsy' person, grab a broom and have a go! When children are small and have a nap or two a day, that time can be a great time to have a rest yourself or to get on with some jobs which are harder to do with small people around!
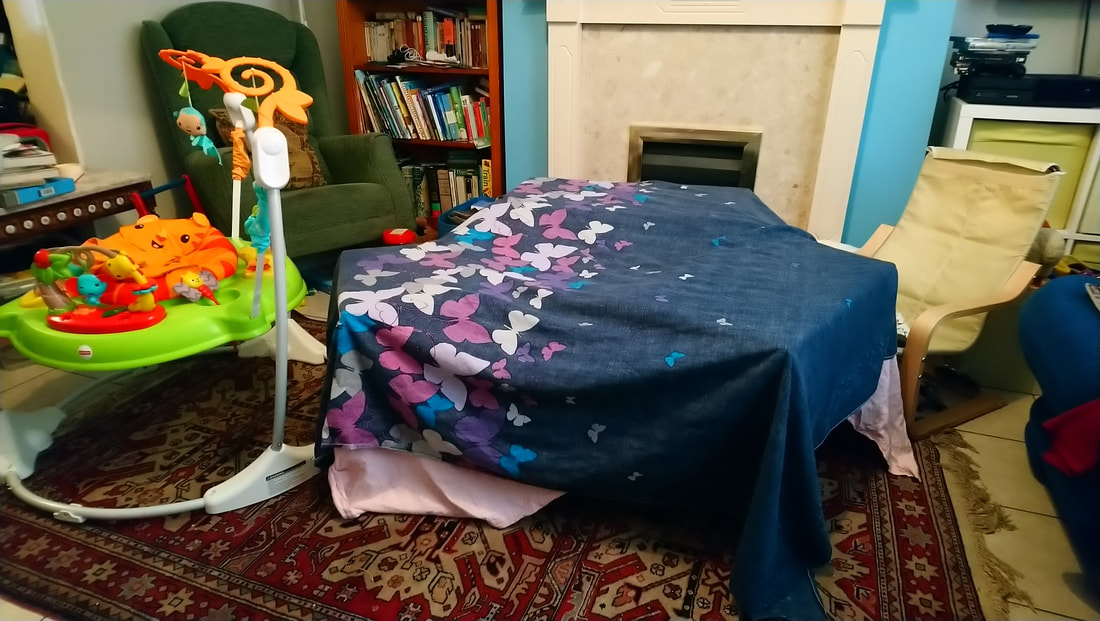
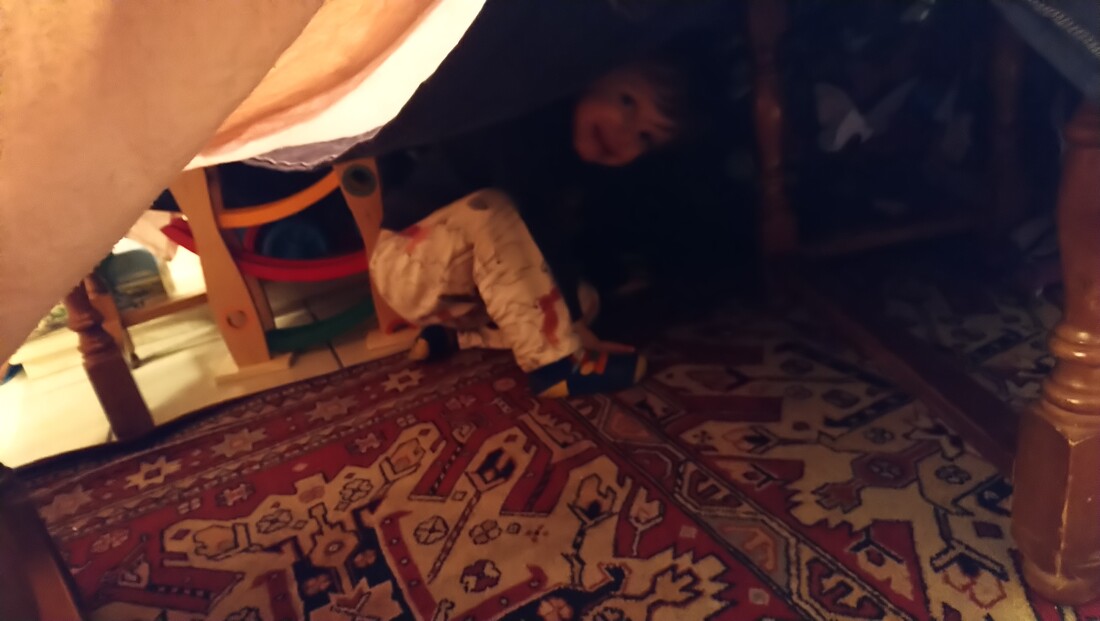
So, what do you do when they get older and stop napping? The day can sometimes feel like a marathon from breakfast to tea time in the hopes of having enough energy before getting to bedtime (I often feel like I'm 'crashing' around 4pm most days). The answer is 'Chill Out Time'. We first heard the phrase from our good friends when their daughter stopped napping and we started to use the term with our eldest whilst he was still napping about 6 months ago. It was helpful to do this at that point as it then wasn't a transition from 'nap' to 'no-nap' and allowed the idea of 'down time' to be introduced quite naturally. Now at the age of nearly 3, our eldest doesn't often nap anymore but is very used to the idea of 'Chill Out Time'. We don't do the same thing every day and tend to vary between the following things: - Playing upstairs in his room on his own - Sitting on the sofa reading books - Watching a TV programme on the tablet - Sitting on the sofa listening to music and reading/colouring Often this break in the day is between 30min-1hr long but it can massively vary depending on mood and what activities we're doing that day. If this is something new you'd like to try and you're not sure if you'd last 2 minutes, then start there! Do it for 2 minutes fora few days, then 4/5 mins as they get used to it. Gradually build it up to a good amount of time for everybody and don't feel the pressure for it to go perfectly every time (just aim for 'most of the time'). Now something I would highly recommend getting is wireless-Bluetooth headphones (with volume limiter) for your child to use. Our eldest loves using his and allows for him to be in bit more of a 'bubble' when he's relaxing (and keeps some peace and quiet in the house for everyone else's Chill Out Time). I link the headphones to my mobile and play music through that which is then kept out of reach so he doesn't spend the whole time just playing with my phone! The most important thing about this part of the day is not just so the adults can 'get a break', most importantly it allows your child to have a chance to unwind/calm a bit, as well as learn about spending a little time in their own company and not constantly demanding someone else's. It's also fantastic after everyone's had a little rest to feel fresh and full of energy to have a fun afternoon together. Resources*: - Amazon Music - Spotify - Youtube - Borrowbox (app for downloading Audio Books from your local library) *Please be vigilant about adverts on Internet music providers to ensure they're appropriate for your child to watch/listen to as if you use your account then it may not have age-restricted adverts Many a happy afternoon was spent with my brother when we were younger building the biggest den we could! My mum would allow us to move all the sofas, steal all the spare bed sheets and completely take over the living room for the day. Some activities never get old and I think this is one of them! As my eldest is coming up to the age of 3 his love of building dens has increased massively over the past few months (currently have one set up as I write and we had one up yesterday too). He's not overly fussy and whilst loves having a big den set-up is equally happy to sit next to me with a blanket over our heads! So don't feel like it has to look like an instagram post in order to be fun! Ours never have twinkly fairy lights or perfect sitting cushions so don't feel like yours has to either! How to make one: 1. Clear a space in the living room 2. Arrange some chairs/tables* in a sort of circle 3. Find some spare sheets (We two set aside for this purpose, ones just a spare duvet cover and the other is a sheet that's sometimes used for when we do the decorating) 4. Arrange the sheets over the chairs/tables (Pull as straight as you can to avoid too much dipping of the sheets in the middle of the den) 5. Encourage your children to 'make it home' If you don't have the space in your living room then if you have a dining table or kitchen bar then just drape a sheet over and voila! *I've been using a nest of coffee tables in the last few days |